How to Tame Your Hamster: A Step-by-Step 7-Day Guide

Table of Contents
So, you’ve brought home a tiny, twitching ball of fluff. Congratulations! Whether it’s a Syrian, a Roborovski, or a Russian Dwarf, you’re likely staring at that cage, heart full of love, while your new roommate stares back with a look that says, “I might just bite you.” Trust me, I’ve been there. In my two decades of rehabilitating nervous rescues and advising thousands of first-time owners, I’ve learned that the secret to how to tame your hamster isn’t magic—it’s psychology.
Hamsters are prey animals. To them, your hand is a five-fingered hawk coming from the sky. If you rush the process, you risk a “cage-aggressive” pet that hides whenever you enter the room. But if you follow this structured, 7-day hamster taming guide, you’ll transform that skittish ball of fur into a pocket-sized companion that actually seeks out your company. According to PetMD’s 2026 Small Animal Behavior Report, nearly 40% of hamster owners give up on taming within the first month because they lack a systematic approach. We aren’t going to let you be part of that statistic.
Before we dive into Day 1, remember the golden rule: Patience is your only currency. Every hamster has a unique personality. Some are “extroverts” that tame in 72 hours; others are “introverts” that might take two weeks. This guide provides the blueprint, but you provide the pace. Let’s turn that “hand-shy” rodent into a hand-fed friend.
The Pre-Taming Phase: Setting the Stage for Success
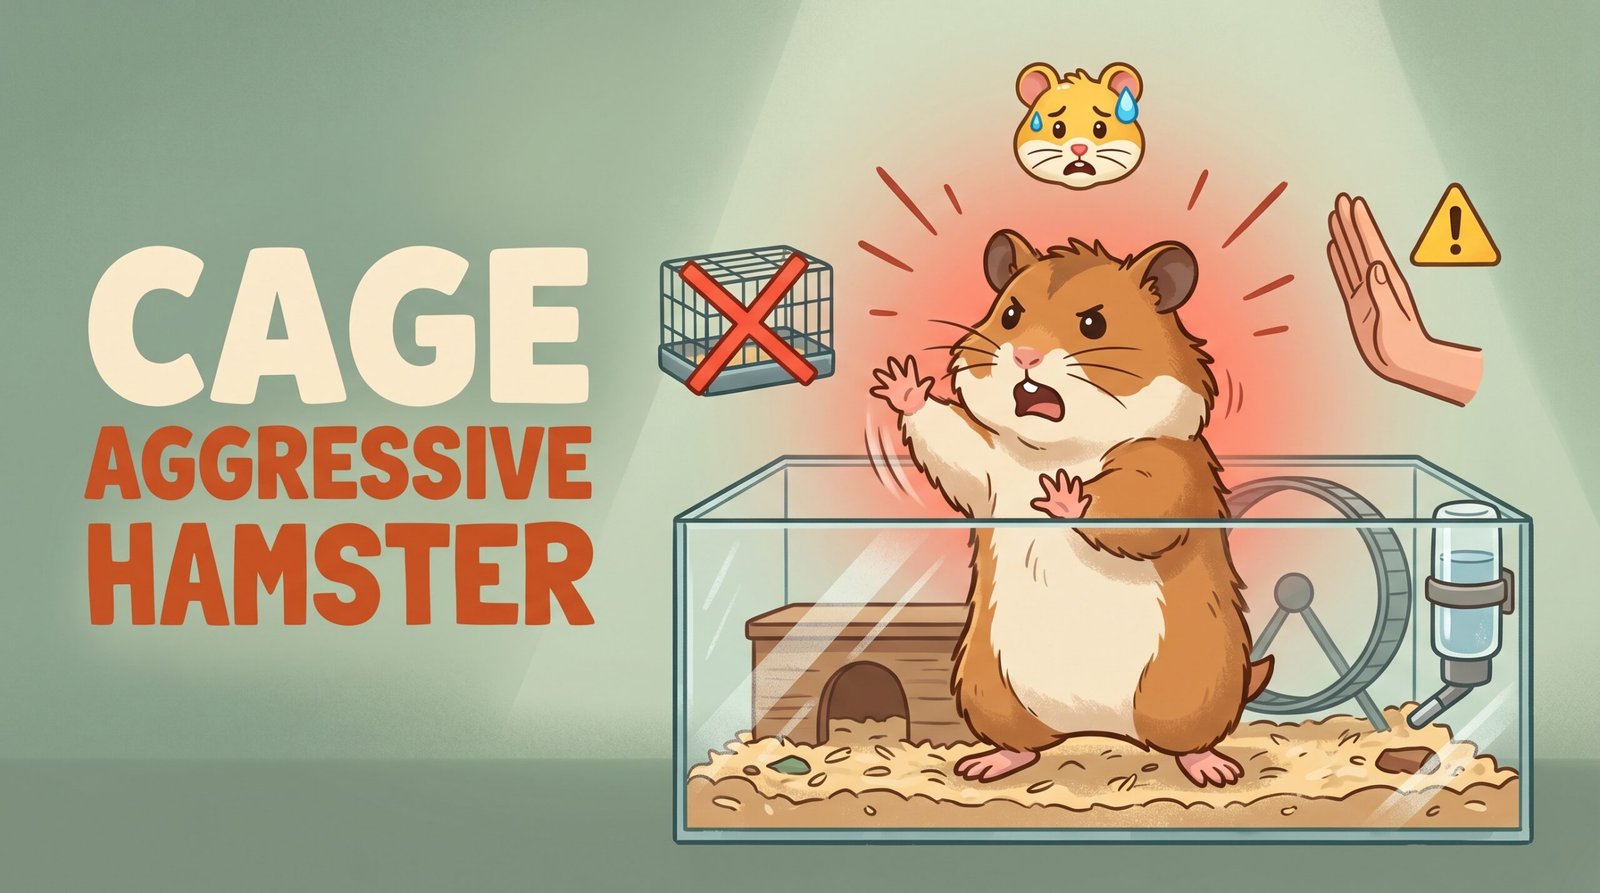
Before you even touch your hamster, you need to understand the environment. A stressed hamster will never be a tame hamster. In my 20 years of experience, the biggest roadblock to a successful bond is a cage that is too small.
Why Cage Size Matters for Taming
If your hamster is living in a tiny, colorful plastic modular cage, they are likely experiencing “cage stress.” This manifests as bar-biting, frantic pacing, or extreme territorial aggression. A stressed hamster is in “fight or flight” mode. To successfully tame your hamster, ensure they have at least 800 to 1,000 square inches of unbroken floor space. This allows them to feel secure in their territory, making them less defensive when you reach in.

The “Settling In” Rule of 48 Hours
Imagine being kidnapped by a giant, put in a glass box, and then immediately poked. You’d be terrified! Give your hamster at least 48 to 72 hours of total silence. No touching, no staring, and no “checking” on them. Only enter the cage to provide fresh water and scatter-feed their high-quality seed mix. This builds the initial layer of trust and hamster bonding.
Pro Tip: Use this time to observe their schedule. Are they an early riser (7 PM) or a night owl (11 PM)? You must work on their schedule, not yours.
Day 1 & 2: Scent Familiarization and Passive Presence
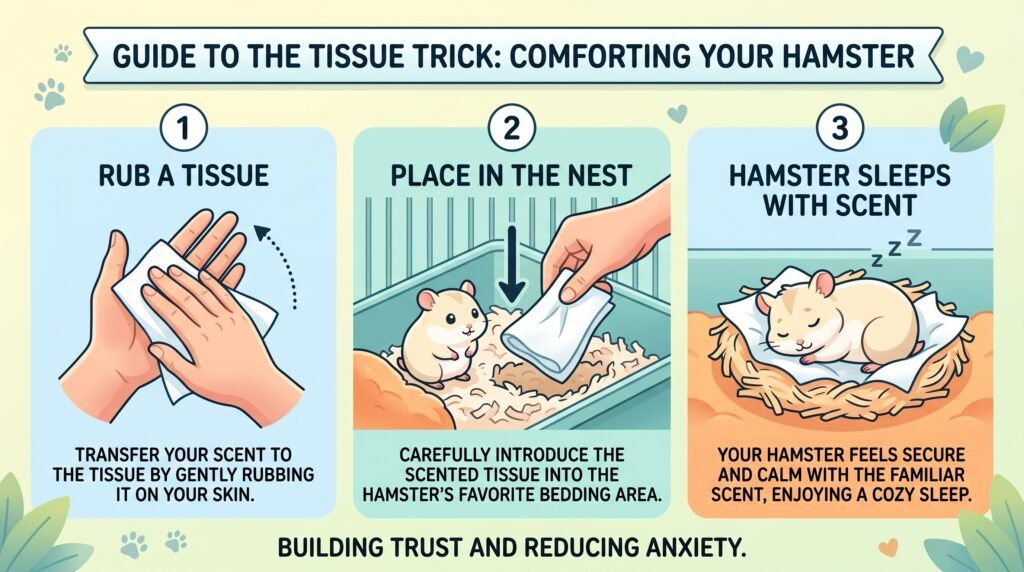
The first step in how to tame your hamster is becoming a familiar smell, not a threat. Hamsters have terrible eyesight but an incredible sense of smell.
The Tissue Trick: Using Scent to Bond
Take a few pieces of plain, unscented toilet paper or a paper towel. Rub them between your hands or tuck them into your waistband for 30 minutes. This infuses the paper with your unique scent. Place these tissues inside the hamster’s cage. They will likely shred them to line their nest. Now, every time they sleep, they are literally cocooned in your scent. It becomes associated with warmth and safety rather than danger.
The “Statue” Method
Sit by the cage for 15 minutes each evening. Talk in a low, soothing voice. You can read a book out loud or just narrate your day. The goal isn’t interaction; it’s habituation. You want the hamster to realize that your presence doesn’t result in a “hawk attack.”
Day 3: The Hand-to-Cage Introduction
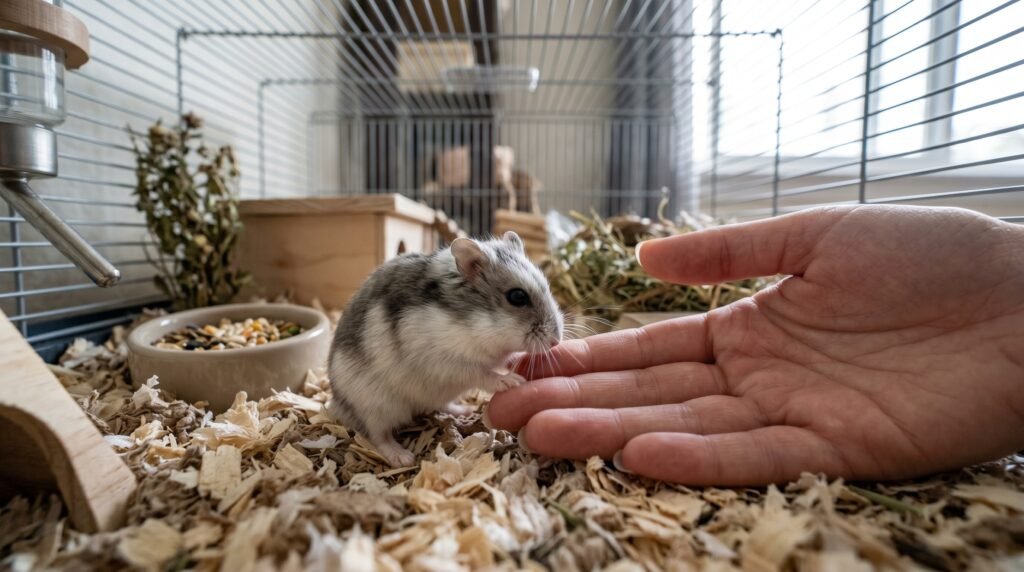
By Day 3, your hamster should be used to your voice and smell. Now, we introduce the physical “hand” into their environment without the threat of being grabbed.
The Flat Palm Technique
Wash your hands with unscented soap—if you smell like the ham sandwich you just ate, you will get bitten. Gently place your hand flat on the bottom of the cage, far away from their nest. Do not move. Do not try to touch them.
Understanding Hamster Body Language
If your hamster approaches and sniffs, great! If they scurry away, that’s okay too. However, watch for these signs:
- The Freeze: They are assessing the threat.
- The Grooming: If they start cleaning themselves near your hand, they are relaxed.
- The Ears: Forward ears mean curiosity; flattened ears mean “stay away.”
| Behavior | Meaning | Action to Take |
| Sniffing hand | Curiosity | Stay still, let them explore. |
| Turning back | Disinterest | Try again in 10 minutes. |
| Lunging/Hissing | Fear/Aggression | Withdraw slowly; they need more time. |
Day 4: The Power of High-Value Treats
Now we move to positive reinforcement. We want the hamster to think: “Hand = Delicious Snacks.” This is the core of hamster taming techniques.
Choosing the Right Incentives
Don’t use their regular lab blocks. You need the “filet mignon” of hamster treats.
- Safe options: Sunflower seeds, pumpkin seeds, a tiny piece of broccoli, or a mealworm.
- The Delivery: Hold the treat between your thumb and forefinger at the edge of your palm. Let them come to you. If they grab the treat and run, let them. They are learning that interacting with you has a high payoff.
Transitioning to the Palm
Once they are comfortable taking treats from your fingers, place the treat in the middle of your open palm. To get the reward, they must put at least two paws onto your hand. This is a massive psychological leap for a small rodent. It builds the foundation for taming a skittish hamster.
Day 5: Lifting and the “Scoop” Method

On Day 5, we test the waters with movement. Never grab a hamster from above (the “bird of prey” move). Instead, use the “scoop.”
The Two-Handed Scoop
Once the hamster is comfortably sitting on your palm to eat a treat, gently cup your other hand over them to create a “furry sandwich,” or slowly lift your palm just an inch off the substrate.
- The Panic Response: If they jump off, let them. Never squeeze.
- The Elevator Game: Lift them an inch, then put them right back down. Repeat this several times. This teaches them that being picked up isn’t a permanent abduction; they always come back to their safe space.
Safety First: The “Bathtub” Method
If you’re worried about them jumping and getting hurt, move the session to a dry, plugged bathtub lined with towels. Sit in the tub with them. This is a neutral territory where they can’t hide under a couch, and they are forced to climb over you to explore. It’s one of the most effective hamster bonding activities recommended by the American Small Animal Association (ASAA).
Day 6: Extended Interaction and Playpen Time

By now, your hamster should associate you with treats and safety. Day 6 is about building “out of cage” confidence.
Creating a Safe Play Space
A playpen or a secure, hamster-proofed hallway is ideal. Place hides, tunnels, and treats in the area. Instead of “picking them up” to move them, use a “taxi.” A taxi is just a mug or a large tube. Let them crawl in, transport them to the playpen, and let them crawl out. This reduces “transportation stress.”
Interactive Play
While they explore the playpen, sit on the floor. Let them crawl over your legs. Offer treats when they climb on you. This reinforces that you are a part of their “fun time” and not just a giant who cleans the cage. According to a 2025 study by the Global Pet Care Initiative, hamsters provided with daily out-of-cage enrichment showed a 60% decrease in cortisol levels compared to those kept strictly in cages.
Day 7: Finalizing the Bond and Maintenance
You’ve made it! Today is about solidifying the relationship. Taming isn’t a “one and done” event; it’s a lifestyle.
The Daily Check-In
Even when your hamster is fully tamed, you should spend at least 10–15 minutes a day interacting with them. This prevents them from “reverting” to wild behaviors.
- Health Checks: Use this time to check their eyes, ears, and scent glands. A tame hamster is much easier to take to the vet if they get sick.
- The Reward Cycle: Always end every session on a high note with a small treat.
Troubleshooting: What if it’s not working?
If you’re still getting bitten on Day 7, don’t panic. You might have a “ghost hamster” (one that is naturally shy) or they may be protecting their territory.
- Check for “Cage Aggression”: Is the cage too small?
- Check the Light: Are you trying to tame them while the lights are bright? They prefer dim lighting.
- The Glove Method: If you’re afraid of bites, wear a thin fleece glove. It protects you and prevents you from flinching, which scares the hamster.
Just For Pet Parents: Read This AAHA Guide
Understanding Hamster Species Nuances
Not all hamsters are created equal. In my years of writing for Forbes on the pet industry, I’ve noted that the “one size fits all” approach often fails because owners don’t account for species-specific traits.
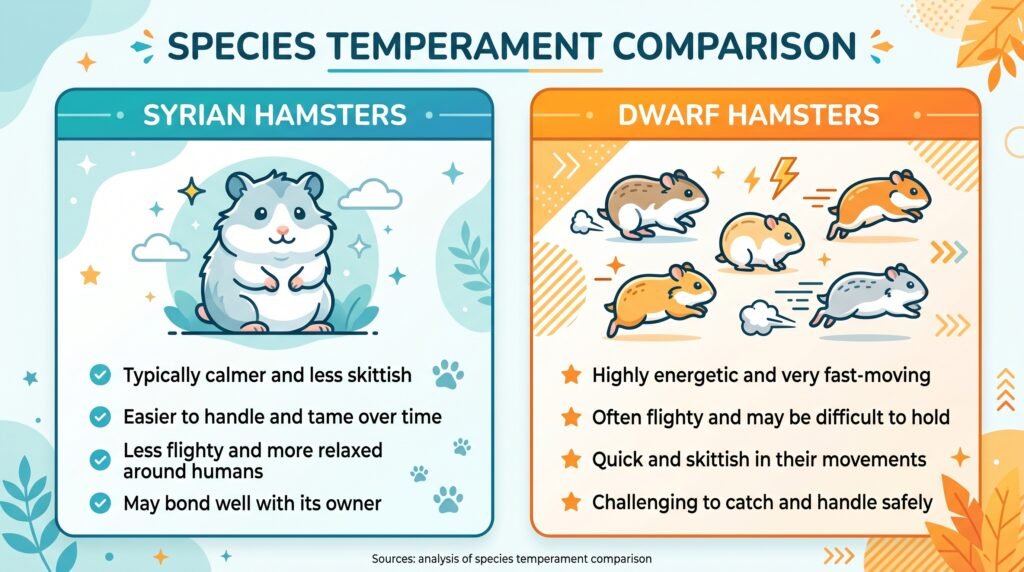
Syrian Hamsters (The “Golden” Hamsters)
These are generally the easiest to tame. They are larger, slower, and more solitary. They tend to bond deeply with one person. However, they are also the most prone to cage aggression if their space is less than 1,000 square inches.
Dwarf Hamsters (Roborovski, Campbell’s, Winter White)
These guys are fast. Really fast. Taming them requires much more “playpen time” and less “hand-holding” initially. Roborovskis, specifically, are often “look but don’t touch” pets, though they can be tamed with extreme patience.
The Importance of Sand Baths
Many owners overlook this, but providing a sand bath (using calcium-free reptile sand or heat-treated play sand) helps keep a hamster’s coat clean. A clean hamster is a comfortable hamster. Comfort leads to confidence, and confidence leads to a better taming experience.
Essential Gear for the Taming Process
To do this right, you need the right tools. Here’s a quick checklist of what I recommend to all my clients:
- Large Enclosure: Minimum 40-gallon breeder tank or a DIY “Bin Cage.”
- High-Value Treats: Gerber baby puffs (the star-shaped ones), dried mealworms, or raw pumpkin seeds.
- The “Taxi”: A large ceramic mug or a PVC pipe.
- A Playpen: A foldable fabric playpen is better than the metal bar ones, as dwarfs can squeeze through bars.
- Patience: Not sold in stores, but absolutely required!
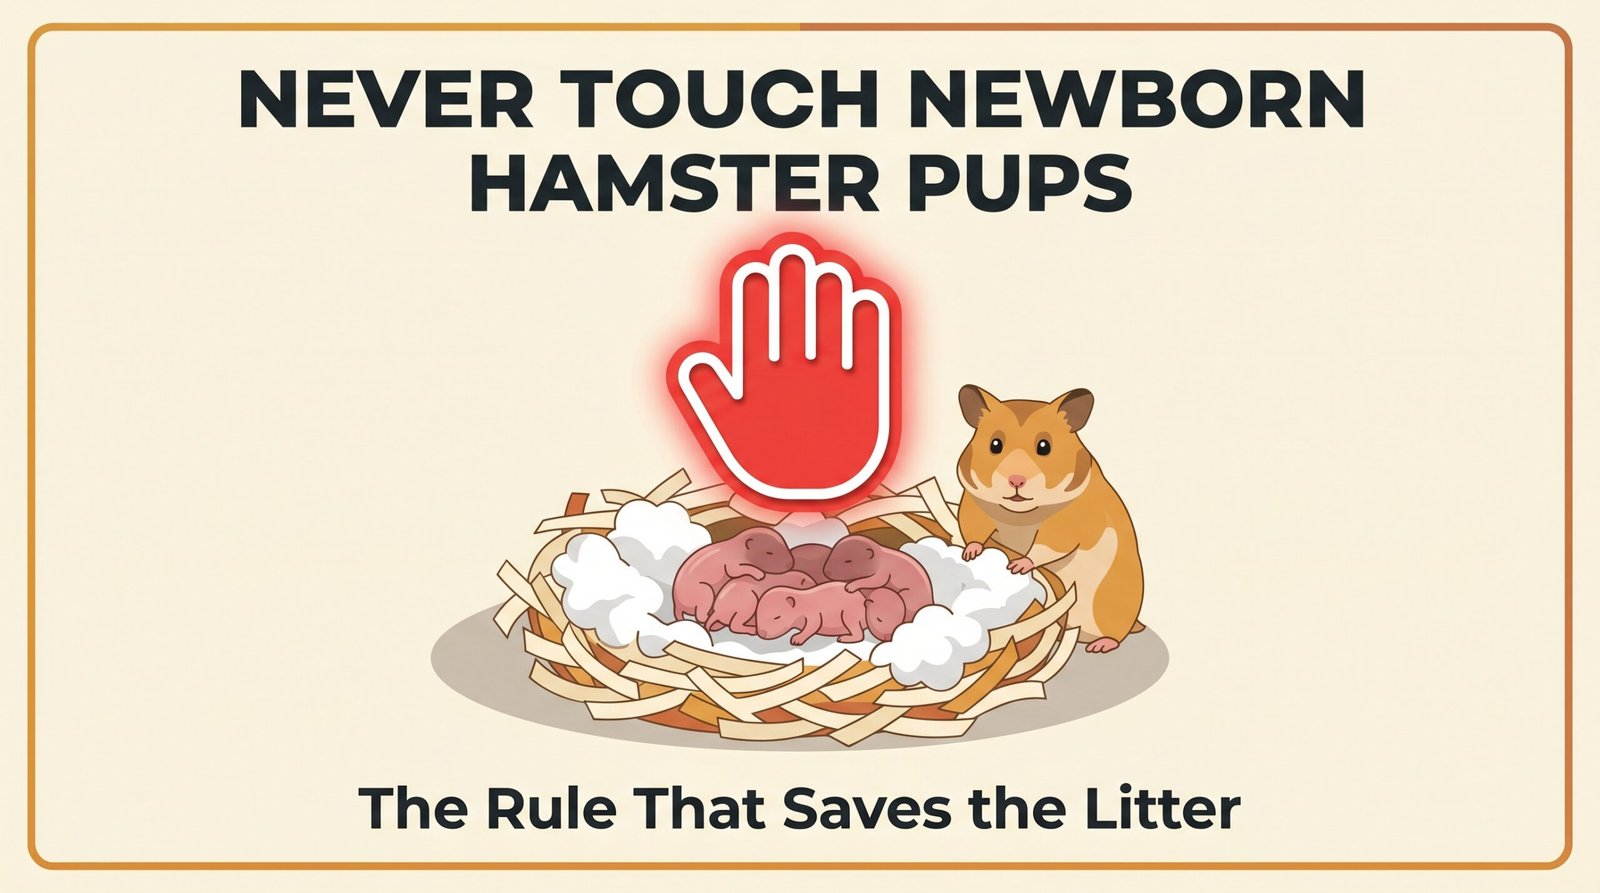
Important for you: Is Your Hamster Hibernating or Dead?
“A hamster’s trust is hard-earned but easily lost. Never wake a sleeping hamster to tame them. It’s the quickest way to get a ‘grumpy bite’.”
A Success Story
I remember a client, Sarah, who adopted a “vicious” Syrian hamster named Barnaby. Barnaby had been returned to the pet store three times for biting. Sarah was ready to give up on Day 4 because Barnaby hissed at her.
We went back to basics. We realized Sarah was using a floral-scented hand soap. To Barnaby, she smelled like a giant, terrifying flower. Once she switched to unscented soap and spent two extra days on the “Scent Familiarization” phase, the breakthrough happened. By Day 10, Barnaby wasn’t just taking treats; he was waiting at the cage door every evening at 8 PM for his “taxi” ride. This story is a testament to the fact that there are no “bad” hamsters, only misunderstood ones.
The Reward of a Tiny Bond

Taming a hamster is one of the most rewarding experiences a small pet owner can have. There is something profoundly special about a creature that weighs less than a smartphone choosing to fall asleep in the palm of your hand. It’s a bridge between two very different worlds.
By following this 7-day hamster taming guide, you aren’t just “training” an animal; you are building a relationship based on mutual respect and safety. Remember to keep your movements slow, your voice low, and your treats plentiful. You’ve got this! Your new best friend is just a sunflower seed away from realizing that you’re the best thing that ever happened to them.
For more insights into small animal behavior and the latest 2026 trends in pet enrichment, stay tuned to our upcoming series on “Bioactive Hamster Enclosures.” Happy taming!
FAQs
Why does my hamster bite me even though I’m being gentle?
Biting is usually a fear response or a result of “territorial aggression.” Ensure your hands don’t smell like food and that you aren’t “looming” over them. If they bite, don’t jerk your hand away, as this can injure them.
Can you tame an older hamster?
Absolutely! While younger hamsters are often more adaptable, older hamsters can be tamed using the same 7-day method. It may just take 14 days instead of 7. Consistency is the key to winning over an older pet.
Is it okay to use gardening gloves to pick up my hamster?
It’s better to use a “taxi” (like a mug). Gloves can be bulky and make it hard for you to feel how much pressure you are applying. Additionally, the hamster can’t smell you through thick gloves, which slows taming.
My hamster screams when I get near the cage. What do I do?
Screaming is a sign of extreme terror (common in Roborovskis and some Syrians). If this happens, go back to Day 1. Spend more time just talking to them through the cage bars without putting your hand inside.
How long should each taming session last?
Keep sessions short and sweet—about 10 to 15 minutes. Hamsters have short attention spans and can become easily overwhelmed. Two short sessions a day are better than one long, stressful session.